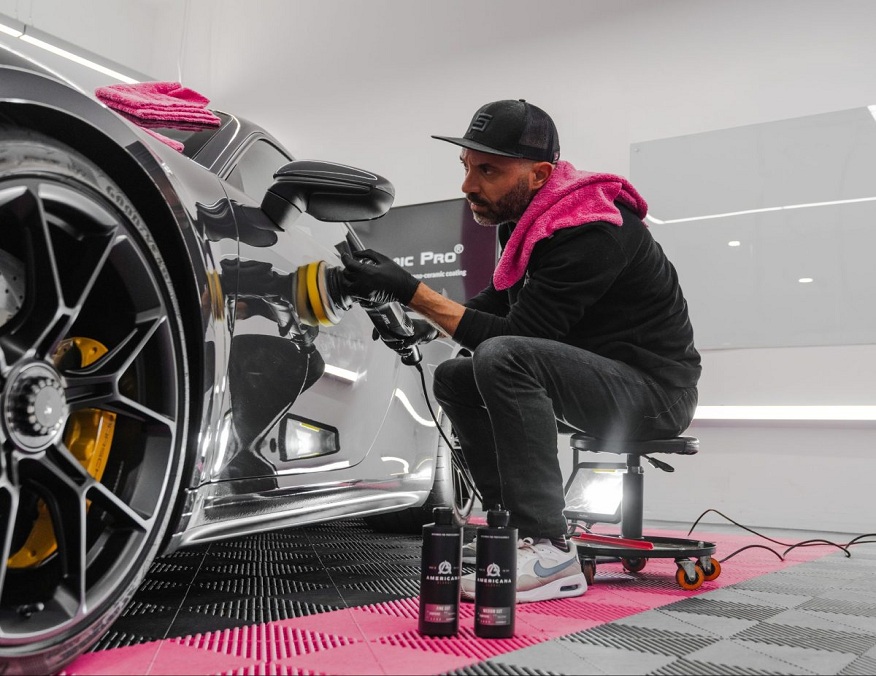
Car enthusiasts always want their vehicles to look their best. One of the most effective ways to maintain a car’s appearance is by applying paint protection film (PPF). PPF is a thin, transparent film made from urethane that protects your car’s paint from scratches, chips, and fading caused by various environmental factors such as UV rays, acid rain, and bird droppings. In this article, we will walk you through the process of installing a car paint protection film.

Why Should You Install a Car Paint Protection Film?
Car paint protection film (PPF) is an essential addition for vehicle owners, especially those with vibrant paints or vivid paint artwork, offering an array of benefits. By acting as a barrier against external elements, PPF preserves your car’s paint and maintains its fresh appearance. It is particularly crucial for cars with eye-catching colours and designs, as it protects the original paint and preserves the vibrancy and intricate details of these exceptional paintworks.This not only increases the resale value of a well-maintained vehicle but also makes maintenance simple, requiring just a gentle wash and occasional waxing. While the initial cost may seem high, PPF’s long-lasting protection makes it a cost-effective investment.
Preparing for the Installation
Before you start the installation process, make sure you have all the necessary tools and materials. The tools you will need can be broadly categorised into four main groups: surface preparation, application, film manipulation, and trimming. Having the proper tools on hand is crucial as it ensures that the film is applied smoothly, without air bubbles or wrinkles, and that it adheres securely to the car without damaging your car’s paint job.
Step-by-Step Guide to Installing Car Paint Protection Film
Step 1: Clean and Prep the Surface
The first step in installing PPF is to thoroughly clean your car’s surface. Wash your car with a gentle soap and water solution, making sure to remove all dirt, grime, and wax. After washing, dry the car with microfiber towels and use IPA to wipe down the surface further. This will ensure that the PPF adheres securely and no contaminants are trapped underneath.
Step 2: Cut the Film to Size
Measure the area you want to cover with PPF and cut the film accordingly. It’s essential to leave some extra material around the edges for easier handling and trimming later on. If you’re using a pre-cut kit, follow the manufacturer’s instructions for proper alignment.
Step 3: Apply the Soapy Water Solution
Fill a spray bottle with the soapy water solution and generously spray the car’s surface where you’ll be applying the PPF. This solution will act as a lubricant, allowing you to easily position and adjust the film on the car’s surface.
Step 4: Position the Film
Carefully remove the backing from the PPF and spray the adhesive side with the soapy water solution. With the help of another person, if possible, position the film on the car’s surface. The soapy water solution will enable you to slide and adjust the film until it’s perfectly positioned.
Step 5: Squeegee Out the Solution
Once the film is in place, use a squeegee to remove the soapy water solution from underneath the film. Start from the centre and work your way outwards, applying consistent pressure to avoid air bubbles and wrinkles. Make sure to keep the surface wet during this process to prevent the squeegee from scratching the film.
Step 6: Apply Heat to Stretch and Conform the Film
For curved surfaces or areas with complex shapes, you may need to use a heat gun or hairdryer to stretch and conform the film. Apply heat evenly while gently pulling and manipulating the film into position. Use the squeegee to smooth out any wrinkles or bubbles that may form during this process.
Step 7: Trim Excess Film
Once the film is securely in place and all bubbles and wrinkles are smoothed out, use a razor blade or precision knife to carefully trim away any excess film around the edges.
Conclusion
In conclusion, applying paint protection film to your vehicle might appear challenging at first, but with careful attention and persistence, you can attain expert-level outcomes. PPF typically lasts between 5 to 10 years, depending on the quality and maintenance. It’s essential to change or renew the PPF when it starts showing signs of wear or damage. Ultimately, the advantages of PPF make it a worthwhile investment, as it helps maintain your car’s paint in immaculate condition for an extended period.


